
Most of the time, I deal with
photos. Occasionally I grab my mouse and draw a
Fly Baby to illustrate some point or the other. And,
occasionally, some beautiful Fly Baby artwork just drops in my
lap.
That's what this page is all about. You can see my fun digitally-modified Fly Baby pictures on the Altered States page. This page is for original artwork that shows...or graces... the Bowers Fly Baby homebuilt airplane.
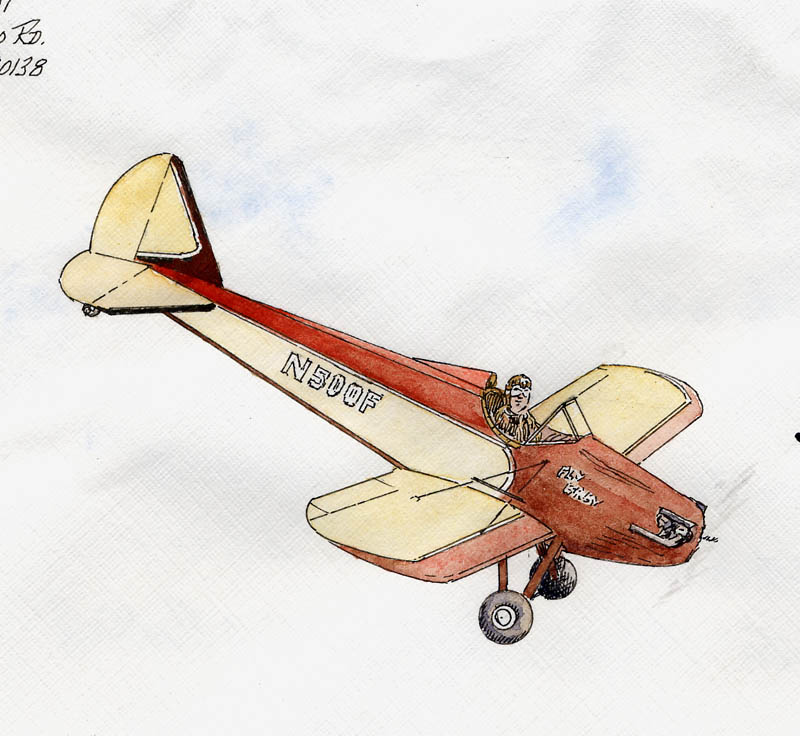
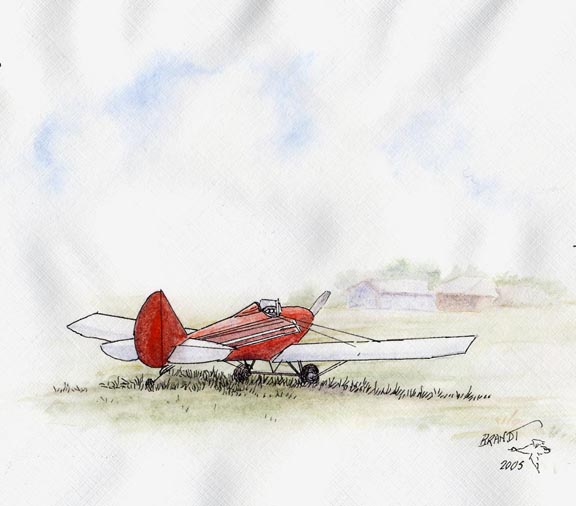
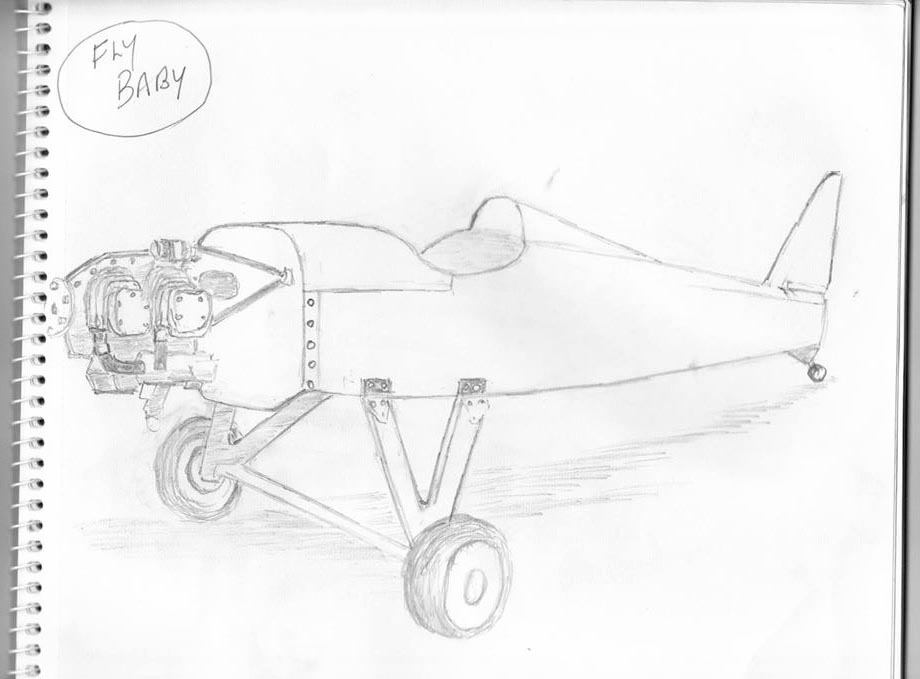
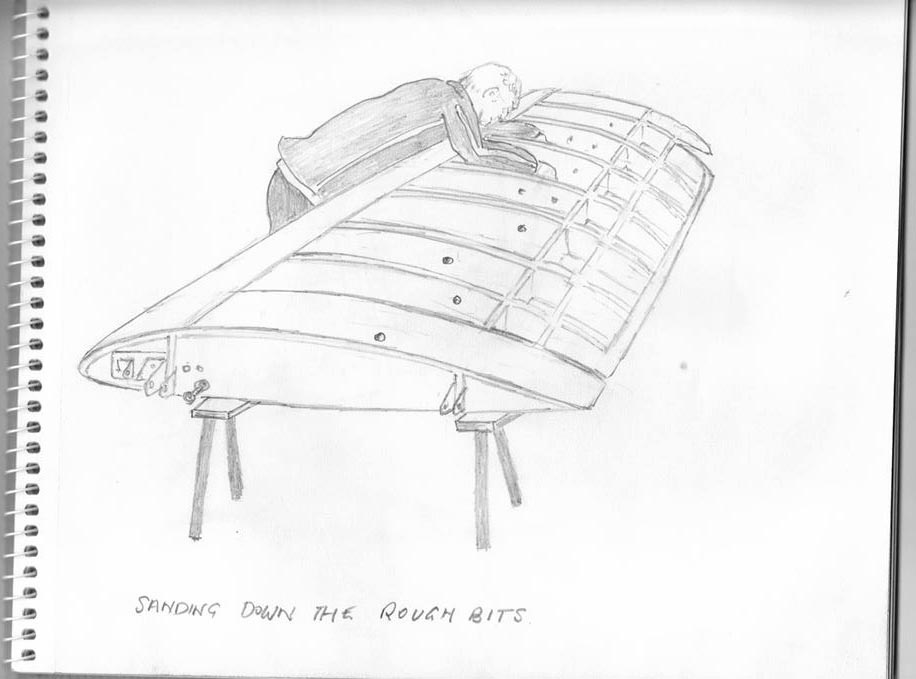
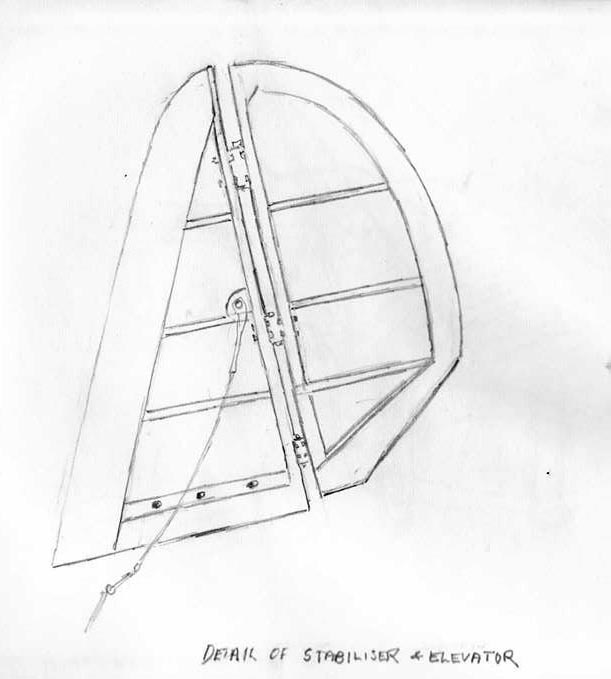
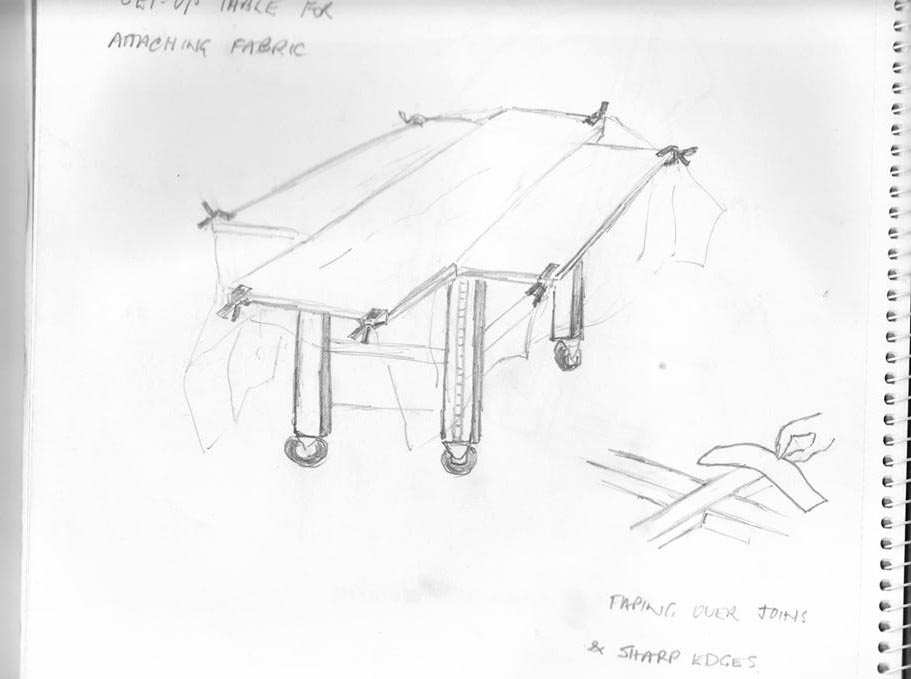
There are three basic categories here. The first, Original Artwork, is for showing freehand drawings and paintings of Fly Babies at repose or in action. The second, Nose Art, is for those Fly Baby owners who proudly display some sort of artwork...be it comical or serious...on their aircraft. The third, Miscellaneous, is for those illustrations that otherwise defy categorization.
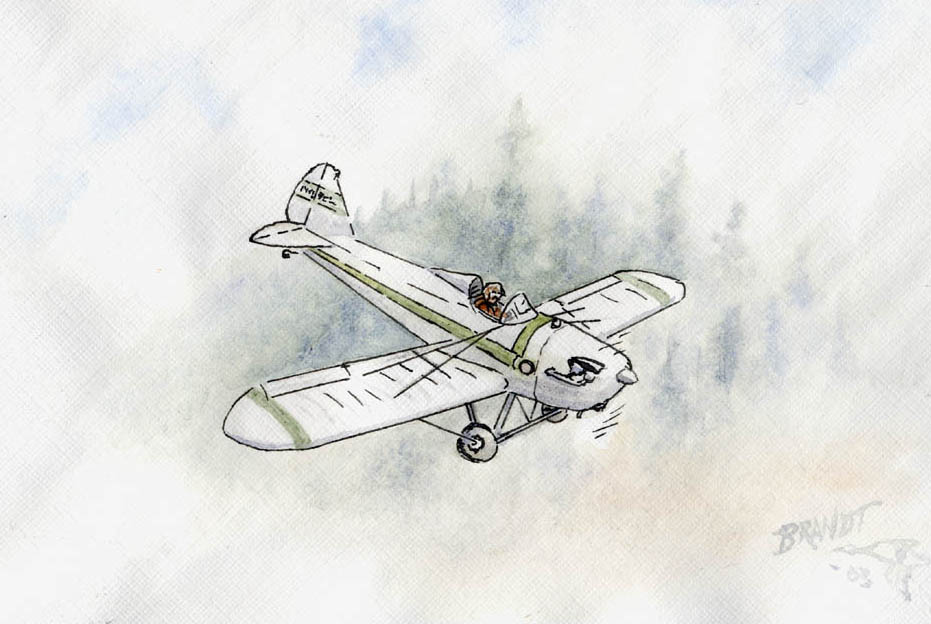
When I got my second or third letter from Bill, I noted that there was an airplane on the envelope. But it didn't really register; I just tore open the envelope to read what he had to say.
When I got done, I folded the letter to return it to the envelope. Then I saw it. That "little airplane sketch" I'd casually noted on the cover was a watercolor painting. Of my own Fly Baby, Moonraker, flying over a fog-shrouded forested hilltop.
Needless to say, I darn near flipped. I can't draw a straight line with a ruler. Any drawing I do, I do it on the computer, where I can easily reposition lines and redo things. But Bill had made a freehand drawing of my airplane and added watercolors, freehand, on a business-sized envelope.
With Bill's permission, I've reproduced the images below. Keep in mind that this is an enlarged version of the drawing The actual airplane on the envelope is less than two inches (5 cm) across. Unfortunately, the scanner loses some of the fine detail, but I think it's still pretty impressive...

A California artist, Leslie Allen, had been searching online for a historic barnstorming biplane for a landscape she was painting for a contest. Couldn't find the right image of a Jenny, Waco, etc, but she found a picture of Al Hatz' biplane and that worked fine.
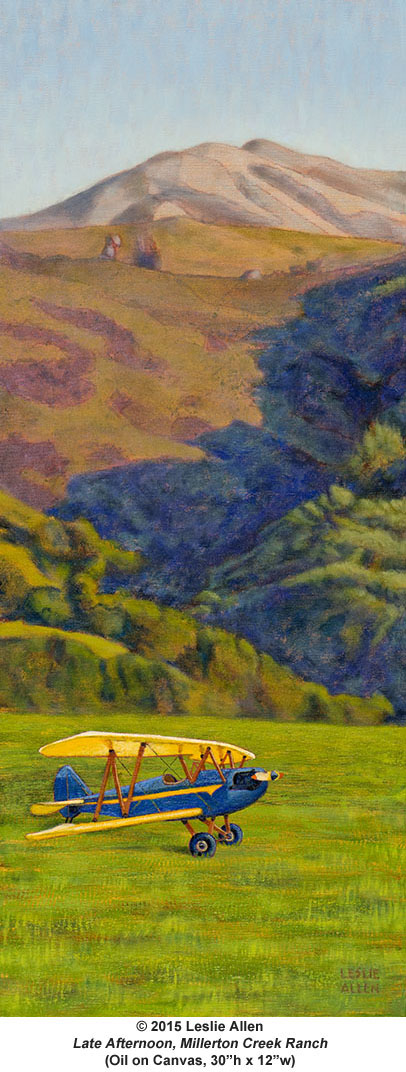
The landscape is a cattle ranch in western Marin County,
that runs downslope almost to Tomales Bay, just north of
the small town of Pt. Reyes Station. A local
landmark, Black Mountain, is at the top.
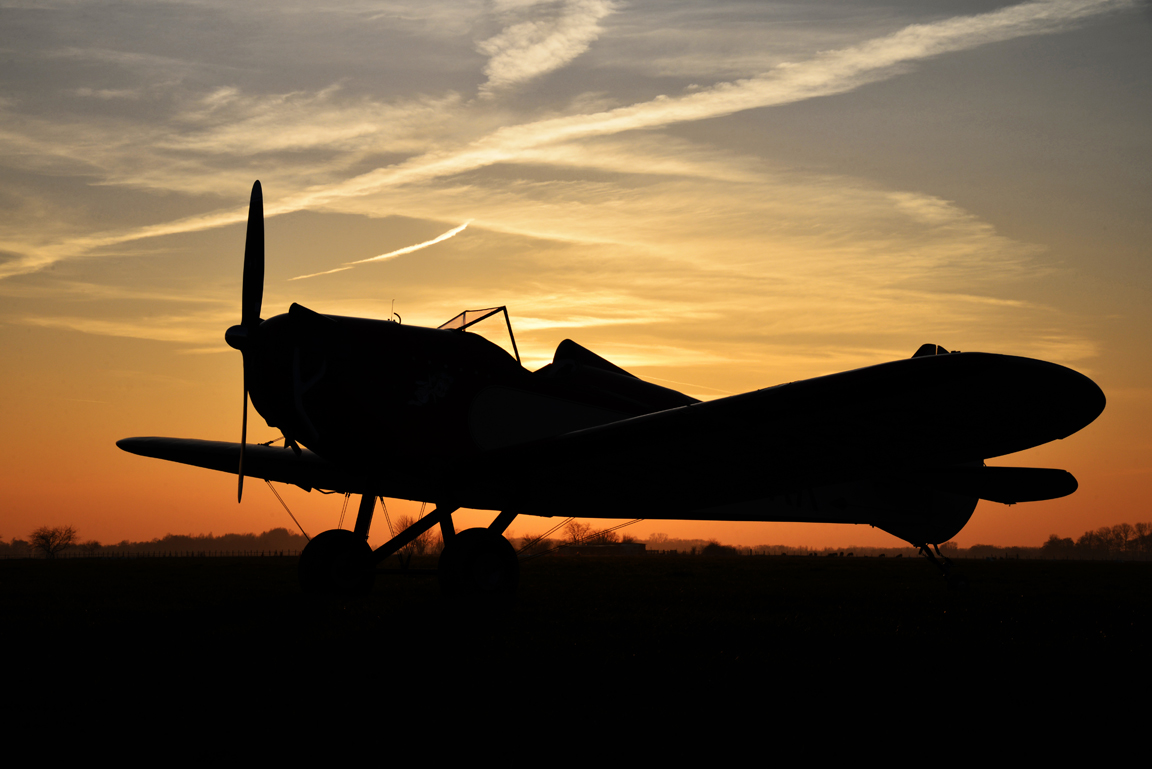
All right, I get it: This is not "artwork" as in a
painting, it is a photograph. But you have to
admit... it's a real stunning photograph.
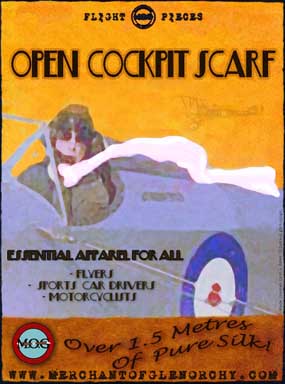 Merchant
of
Glenorchy
Merchant
of
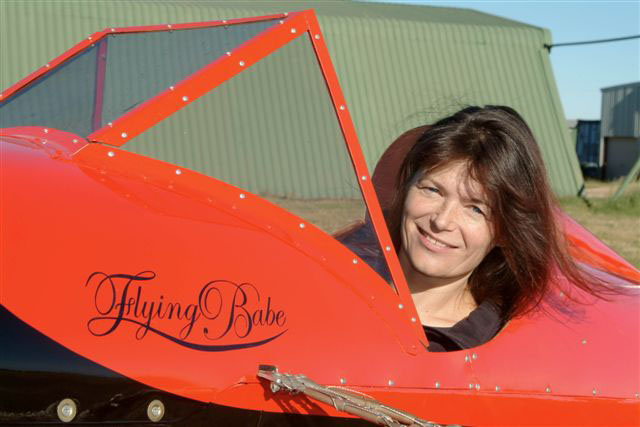
GlenorchyI've got nose art on my Fly Baby, and I'm trying to encourage other Fly Baby owners to add some, as well. If you've got artwork on your Fly Baby, email me. I'd love to add pictures of it to this web page. I'll also be happy to include photos of any names applied to Fly Babies....
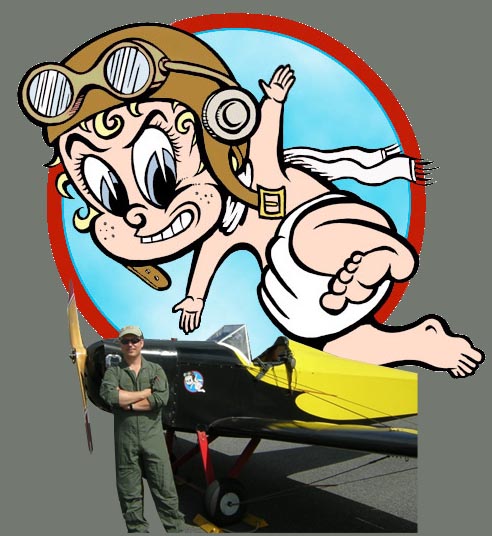
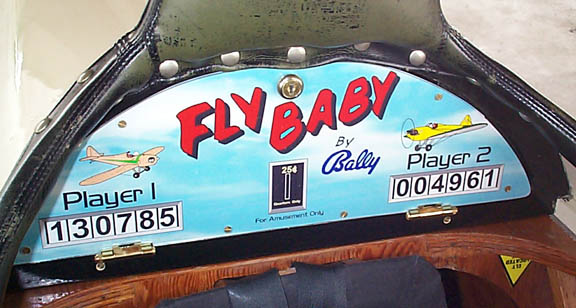
I had planned to add the name "Moonraker" to my plane, and did some sketching of some appropriate nose art to go along with the name. But then, I started taking the plane to Fly-Ins. I noticed a lot of parents bringing their toddlers up to the nose of the airplane, showing them the cartoon, and saying, "Look, there's a baby on the plane!"
I got to liking that. So...I kept the Far Side cartoons.
But a year or so later, I had a problem. The previous owner had glued the images to the plane. The glue had turned loose, and one of the drawings was long gone. The other had been in the sun and weather too long, and was greatly faded. It was time to replace the artwork.
Instead of finding two new greeting cards, I decided to try convert the one existing drawing to a digital drawing. That let me "heavy-up" the lines, and add some bolder color. It also let me delete one of the two airline pilots on the Baby...after all, it's a single-seat airplane. Instead of retaining the runway and control tower, I decided to depict the Baby in flight...all it took was the elimination of the background, and a bit of a tilt to suggest motion. Here's the result:
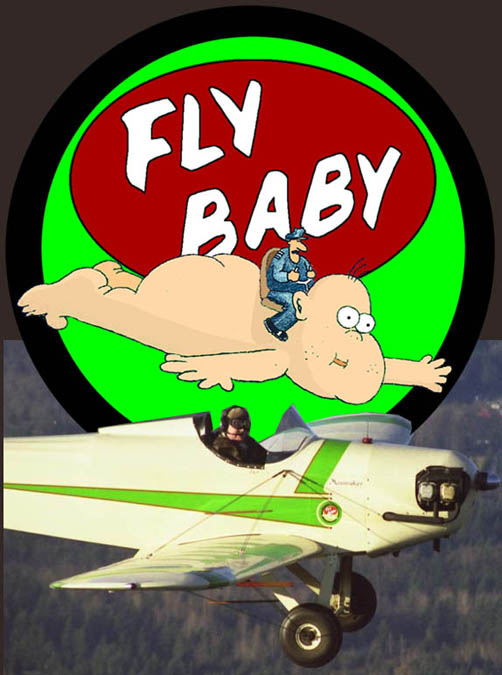
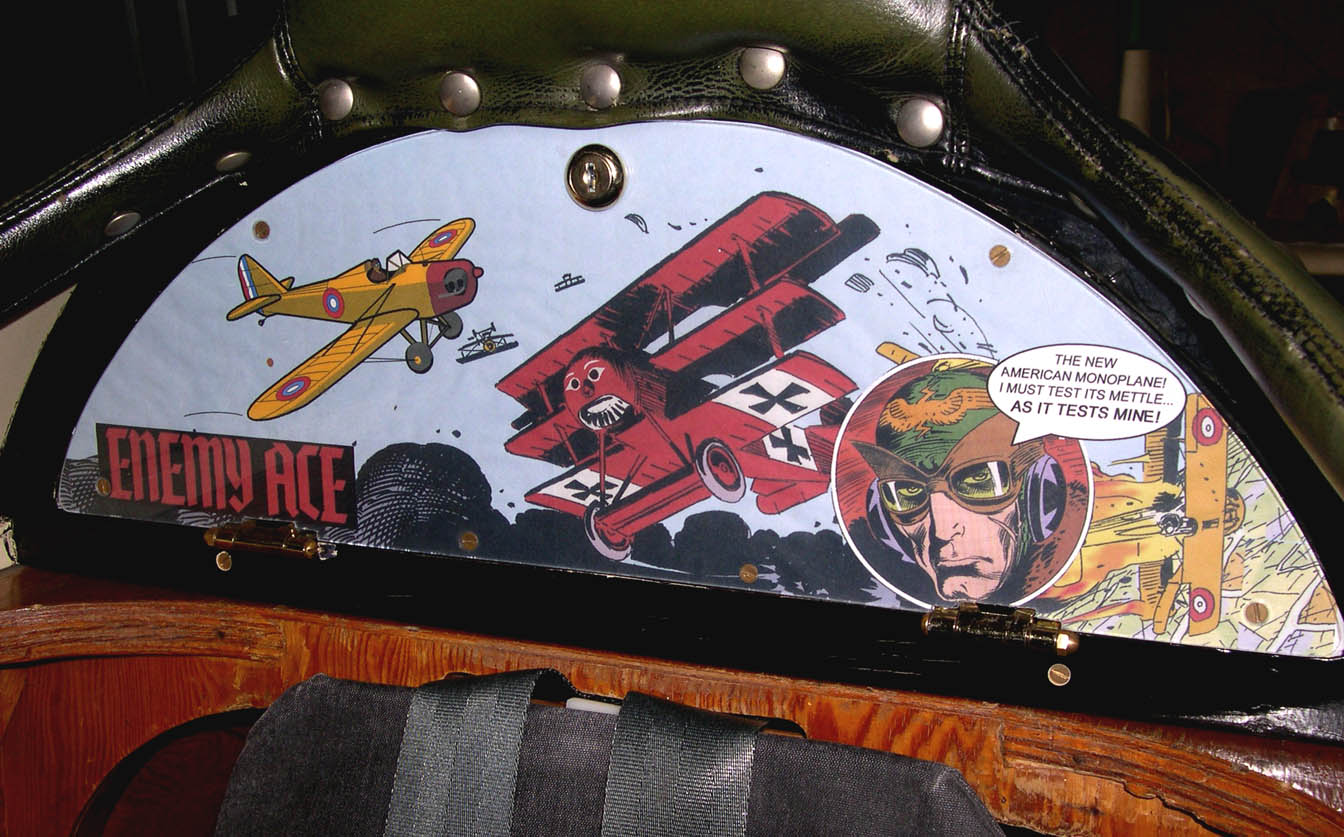
A couple of years ago, I realized the panel could be used as a sort of "nose art" display...the baggage door was visible to anyone standing by the cockpit, and since it normally was under the cockpit cover, it didn't need to be done with weather-resistant paper or ink.
I ended up making a new door...this one a sandwich of 1/8" plywood and 1/8" Lexan. I design the artwork on the computer, then print it out on my standard ink-jet printer (using banner paper...the image needs to be about 20 inches wide by six inches high). I separate the Lexan from the front of the plywood, slip the printout inside, poke holes for the brass bolts that hold the ply and Lexan together, then bolt the unit back together. A quick cut around the edge with an Exacto knife trims off the excess, and a nice looking graphic is left.
